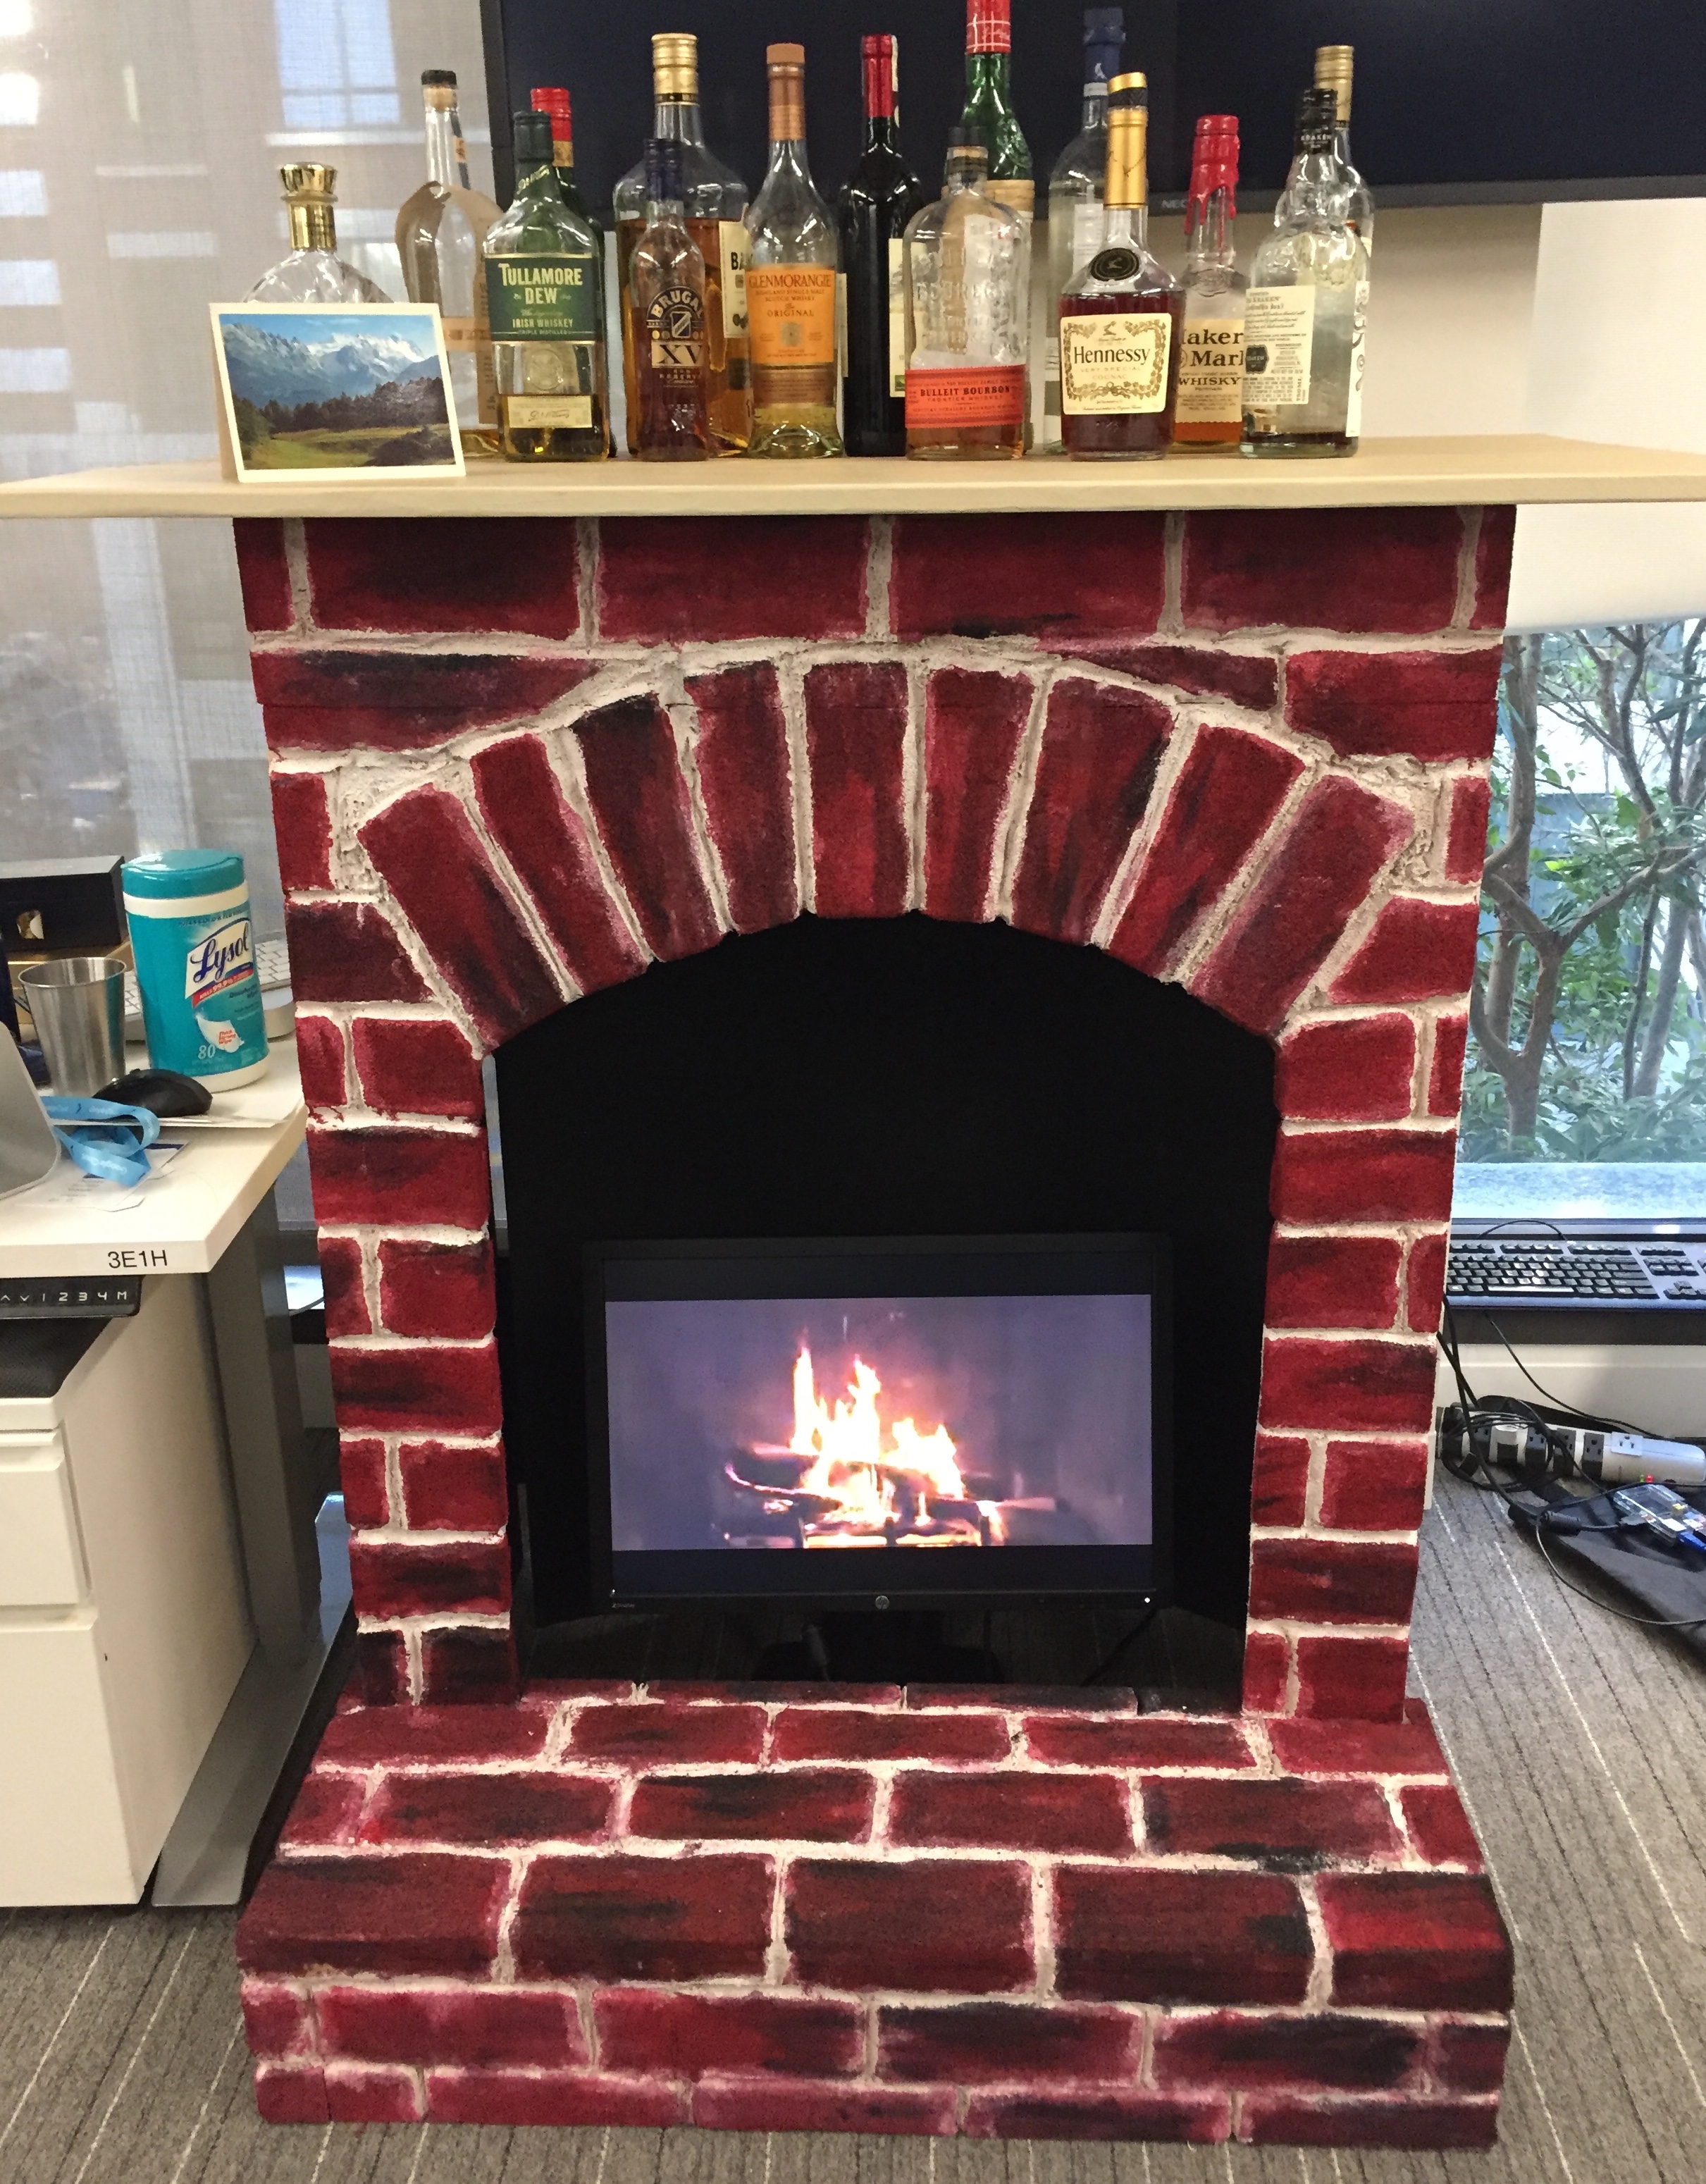
I built a fake fireplace in celebration of our team shipping Cloud Functions for Firebase. The codename was “hearth” — the product was almost ready for public beta by the time I joined the team, yet I know it was an epic journey to create a long-awaited feature and I felt the milestone deserved dramatic punctuation.
If you would like to build your very own fake fireplace, here’s how…
Initial Research
I reached out to our helpful facilities staff to make sure that I understood the constraints of the space. (I didn’t want to buy or create something that would be immediately taken down!) James Miller from facilities investigated some options:
“Since a hearth is technically the flat stone floor or the part outside of the fireplace, putting up just a fireplace and mantel leaves out the most important part, but including it presents a tripping hazard.” He suggested a quick and easy solution would be to temporarily change the display play a 8hr yule log video or on extra computer monitor with some fake foam bricks. He noted that some prop fireplaces which look pretty good in the photos, but are just cardboard. There are more expensive electronic fireplaces, but we can’t have anything that includes heating features similar to a space heater, and he reported “most that I’ve seen online are also missing the most important part… the actual hearth.”
Initially I felt that a literal interpretation of the “hearth” code name was not a critical element. We explored buying a real fake fireplace, but the ones we found were very small and we felt they were very expensive relative to the potential impact. However, his thoughts on the meaning of “hearth” later led to some important design elements. I love being involved in a collaborative creative process!
James suggested that something in a stage prop style would have dramatic effect, perhaps using styrofoam so that it would be light and easy to move, if we needed to shift it in the future around team moves. In brainstorming location, he helped me remember to pick out a spot with an electrical outlet.
Measure Twice, Cut Once
 I surreptitiously took a photo of the area, and arrived early one morning with a tape measure to determine its maximum dimension.I then measured the computer monitor I planned to use to determine the minimum internal dimension.
There was actually a third, very important measurement: the internal size of my car, which later became a critical optimization. I designed the fireplace in three pieces, so it could fit into the car, which also made it much lighter and easier to transport. Styrofoam is rather fragile, and the smaller pieces fit easily through doors.
Tools & Supplies
Tools: tape measure, hammer, screw driver, propane torch, safety googles, mask, electric drill, electric sander, garden shears, mat knife, level, steel square
Supplies: small nails, wood, styrofoam panels, gorilla glue, sandpaper, acrylic paint (red, yellow, white, black), gloss latex paint (off-white), sharpie, cardboard
I had never worked with styrofoam before and read that it could be carved with a sharp knife, acetone or a hot knife. If it were a small project, a regular soldering iron would likely have been fine, but I wanted something that would be fast and really liked that the propane torch I found had two different tips as well as an open flame option. The small hand-held propane filled torch is also easier to work with than my electric soldering iron which requires an extension cord.
Construction Details
I tested carving and painting the styrofoam very early, including figuring out how long the paint took to dry. I found that painting the white cracks before painting the red bricks made it come out a bit better. It was also good to test carving to create an effect that looks like mortar.
- Wooden frame: I uses 1″ thick boards for the frame. Discount Builders in San Francisco has a friendly staff and cut long 12′ or 8′ boards into the lengths I needed. The hearth is a separate component, which is like a hollow box with one side missing, where the missing side is actually attached to the larger frame, so the top can rest on it for stability and is not actually physically attached. I used a level and steel square for an even frame and wood screws.
- Top: I used a single 1″ thick board and drilled small holes for pegs to attach the top to the frame in a way that could be easily removed, yet fit snugly. I used garden shears to cut a long wooden dowel into 1″ lengths to create the pegs. I used an electric sander for rounded edges on three sides, and finished with fine sandpaper. I then coated with a few coats of gloss paint (which would have been easier if I had remembered primer!).
- Styrofoam: for the large panels I found that using small nails to hold the styrofoam in place made it easier to keep everything steady while gluing it all together. I attached all of the styrofoam panels before carving bricks with the torch. Large cuts were most effective with a mat knife.
- Carving the bricks: I found a few inspirational Fireplace images via Google Image Search and drew bricks with a Sharpie, then traced the lines with the torch using the soldering gun tip. Then I went back and made the brick edges a bit irregular and created a few cracks in random bricks. I also used an open flame in areas to create more texture.
- Painting the bricks: I mixed acrylic paint with a little dish soap and water, which makes it easier to coat the styrofoam. I noticed that most fireplaces have irregular brick colors, so I varied the colors a bit with yellow and brown highlights, as well as black “sooty” areas.
- The inside is painted black with a piece of cardboard as backing.
Additional Resources
I studied sculpture in college, so I had practical experience with wood construction, and learned a bit more from the amazing people who publish about their experience on the web. Here are some links to resources that I found particularly helpful.
Tutorials
Videos